Last fall I was very fortunate to be invited for a wonderful weekend at the beach by a very generous stamping friend (Thank you, Sue!!!). Knowing that the plan was to do some stamping together, I gave some thought to the question of how to stamp away from home.
The challenge, of course, is to bring enough supplies to be productive, but not so many supplies that you require a U-Haul to transport them! Here is the list of basic supplies that I recommend.
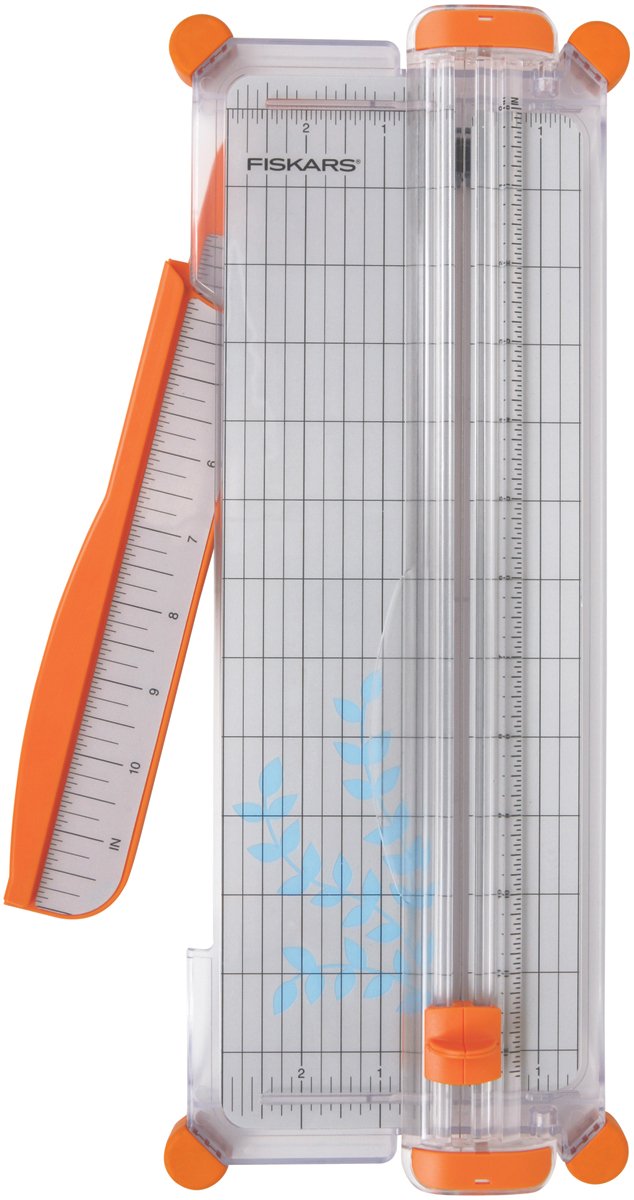
- Compact paper trimmer such as Fiskars Portable Paper Trimmer, 12 Inch
- Rubber stamp markers for inking stamps and coloring images
- Black ink pad
- Scissors
- Adhesive of choice (I like Scotch Double Sided tape)
- Rubber stamps
- Stamp cleaning supplies (or make do with wet and dry paper towels)
- Card stock
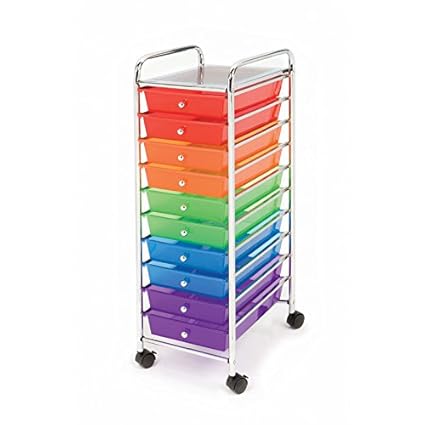
- Storage case such as Iris 12×12″ Scrapbook Case (if you can get everything in a smaller case, even better!)
These items are fairly basic and obvious. The real question that I struggle with is what stamps and card stock to bring.
One option is to choose a pack of decorative papers (DP), then bring card stock that coordinates, and one or two stamp sets to use with these. Depending on space available, you may then want to bring ink pads to match the card stock chosen. You could also do this without DP, just select one or two stamp sets, then choose three to five card stock colors to use with the stamp sets.
This still leaves me anxious that I’ll be making a card with these limited supplies and wish I had a certain die, punch, ribbon, etc.
Coloring Images
One option is to stamp images at home and just bring Copics, colored pencils (my favorites are Sanford Prismacolor), or another coloring medium of choice. Coloring can be very relaxing and the colored images can be made into cards when you get home.
Card Kits
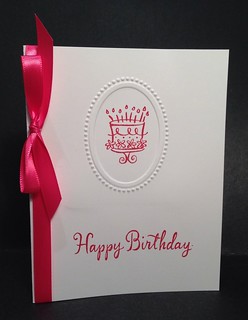
A great solution that was proposed by my recent hostess was that each of us design a card and create card kits for the other three stampers to make five of the same card. We all then took turns assembling the card kits with each others’ supplies.
In addition to all the supplies needed to assemble the cards, we prepared our card kits by pre-cutting the card stock and DP needed and in some cases stamping the images for the cards so that everything could be packed more compactly. This reduced the need for large sheets of card stock, stamps, ink pads and stamp cleaner. Finally each stamper brought her own adhesive of choice to use in assembling her card kits.
The card kits had several great advantages.
- All the supplies needed to make the card were planned out ahead and provided.
- Assembling the cards was really easy, so we were able to socialize at the same time.
- We learned techniques from each other such as coloring with Copics and how to use a paper tearing tool.
- Sometimes we made slight changes to the card design and the card designer gained new ideas.
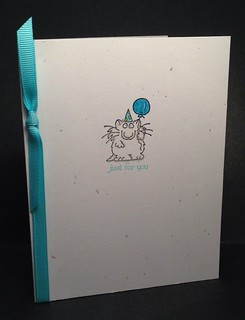
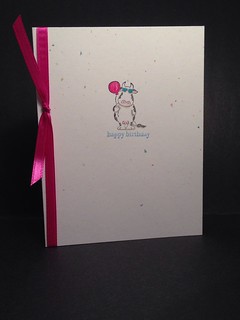
- We each went home with fifteen finished cards!
The card kit method worked great in a group, but it would also work well for an individual stamper. Plan out one or more cards, then bring the supplies you’ll need to complete the cards.
I’m excited to try this idea for stamping while enjoying the beautiful weather from my porch as opposed to my windowless basement stamp room this summer.
I’m interested to hear other suggestions for stamping away from home. How do you stamp away from home?
Happy Stamping!
Stacy

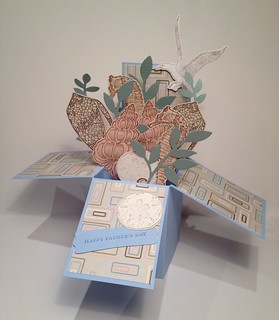
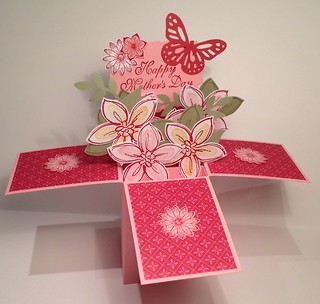
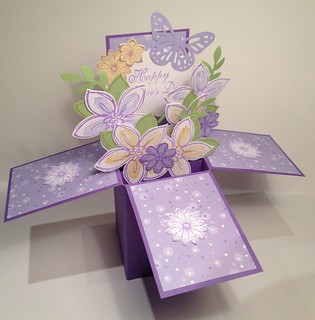 Mother’s Day for two extra special mothers calls for extra special cards. When a friend showed me the Card in a Box I knew I’d found just the thing.